Thursday, November 18, 2010

The week that is

Hey Lauren
Wow...great tutorial! Did you take a class without me or did you see a "how to video"?
 You are so inspiring. Is that what you are going to do with your turquoise and red collection? I can see all kinds of possibilities.

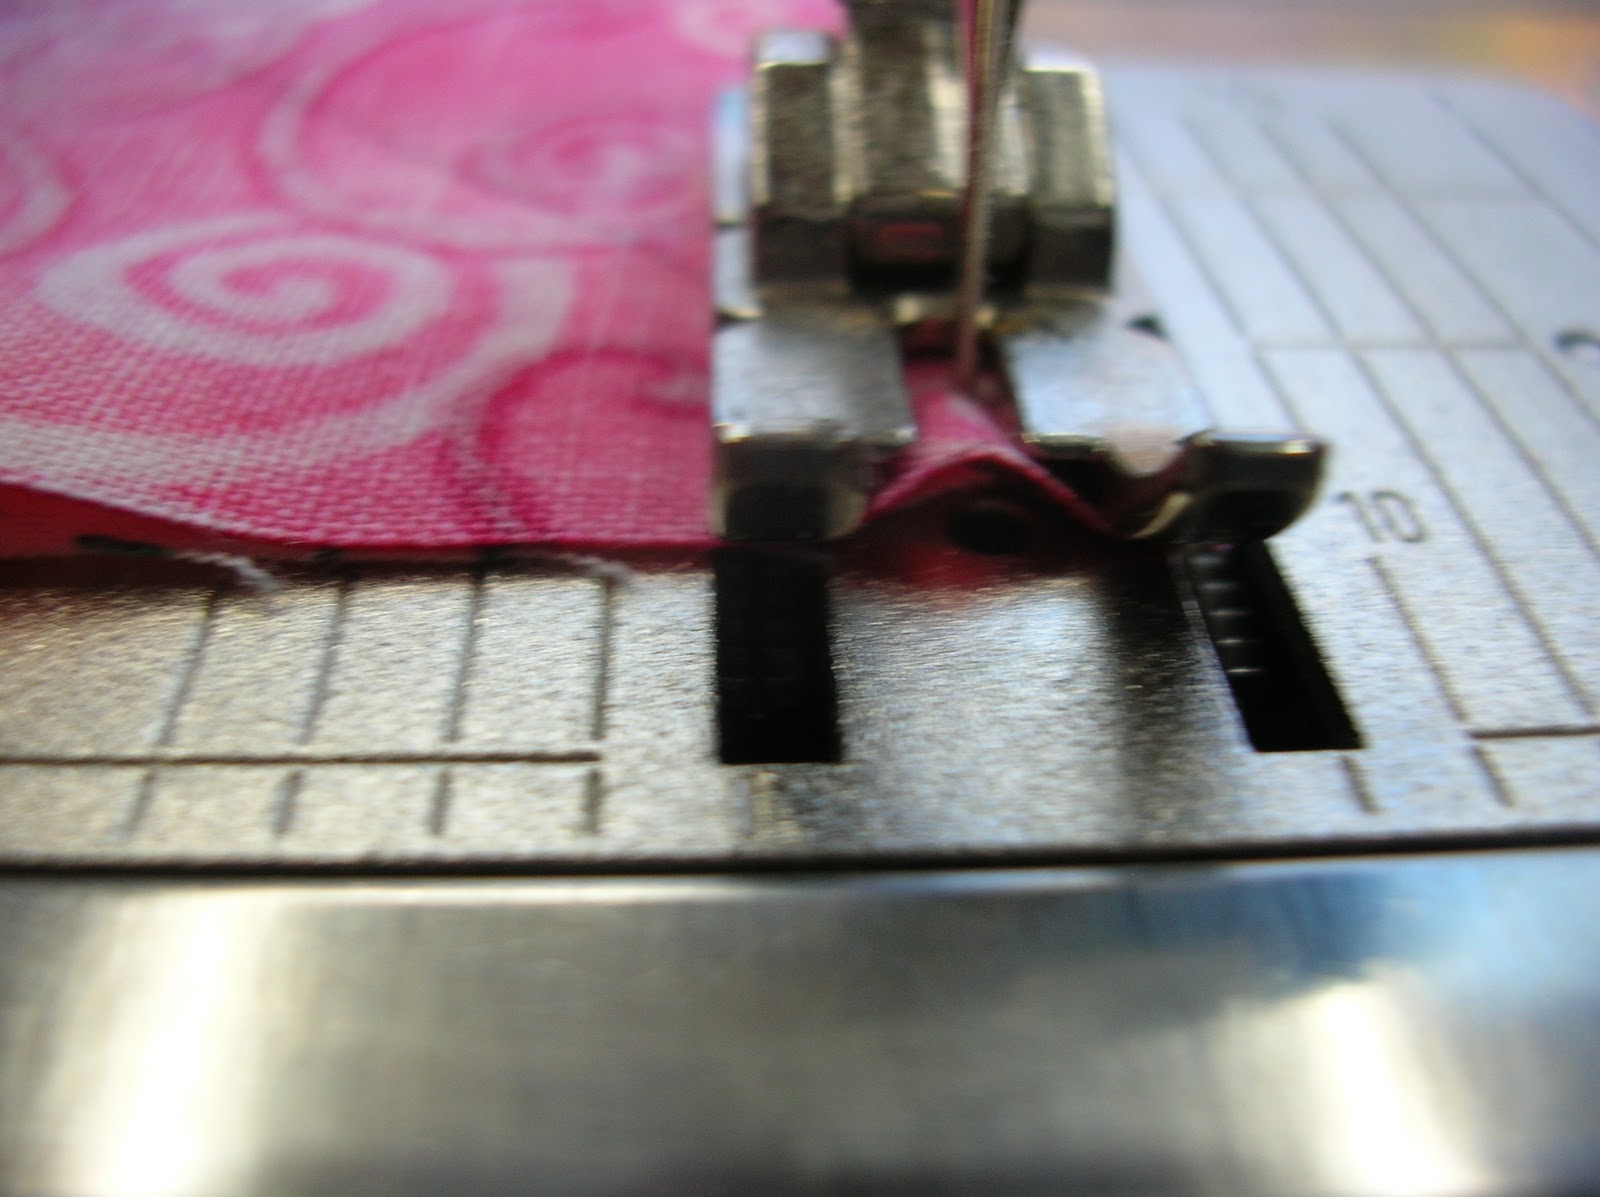
I have had a productive week. When I got home from your house I finished up the 9 patches for the top I was working on. Monday, I put the borders on. I like the way it looks, especially the lighter 9 patches that seem to create a white space in the top. Can you see them? The borders do seem to be flapping in the breeze even though I cut them to size. That's why you can't see the entire quilt in the picture. I don't want the quilt to fly away!


On Tuesday I took a class with Sally Korte at one of the LQS in my area. We worked with wool and created a pillow top for Christmas. I'm still working on it. I want to add some buttons and beads to some of the letters.

I finished my Turkey pillow top - just in time for next year!

Sally Korte taught that class too. She's a great teacher, low-key and very knowledgeable. She was once a partner with Alice Strebel in Kindred Spirits. Here's a link to the website http://www.alistrebeldesigns.com/
I'm liking working with wool. It's very forgiving and you can really make it interesting without too much effort!
I'm looking for the Betty Christmas block of the month. It seems to have walked out of the house on it's own! Where did I put it? I don't think I would have given it away. I worked too hard on it.
I went to B&N today and found a great new book. I had a gift card burning a hole in my pocket.
It is full of amazing, inspirational quilts.
I started The Lily. It's about time isn't it? Thanks for that push..it helped. Right now I'm sewing chunks together and will work on placement this weekend.
And...not quilting related but look at this yarn that I spun.


 By the way, do you know how to use WonderUnder?

Wednesday, November 17, 2010

new blocks and short cut and sharp points

Ann- I put together some blocks today and I am excited about the quick accurate method- although I had a bit of a panic in the middle of the process thinking the points were not going to happen.

Need a see thru ruler, mechanical pencil and sharp scissors. I also used spray starch (which I now love, thanks to Patti and Cindy this past weekend) and I pinned my pieces together before sewing.
For each block background I cut 3 (light print) squares 4 7/8 inches. 1 (red) 4 7/8 inch square and 1 (red) 7 5/8 inch square.

Here are photos I took along the way so I could share the method I used with you:
Mark diagonal lines on the (red)- make sure you mark the piece that you want to be the triangle accent- Yes, in my first effort I marked the light and cut it and had to start over. This photo does not show the 4 7/8 inch light block- trust me though it's under there.

With right sides together take the (red) 4 7/8 inch square and 1 (light) 4 7/8 inch block pin in the middle of each side. Sew around all 4 sides of the 4 7/8 inch square. Stop at the pencil line (1/4 inch from the edge). aka Pivot at the pencil line
The photo above is to show the pivot
Cut along the pencil lines, be careful and cut on the line only- stop right before the stitching. yes I learned this one the hard way too. 

Cutting the blocks open
Press and use spray starch. This is where I started to get worried about the points. 
Take the other 2 light 4 7/8 inch squares and cut them in a diagonal. 
Pin 2 of the triangles to opposite sides. Sew and then open and press, use spray starch. Then pin and sew on the other 2 triangles to the other sides. Again, open and press use spray starch. 
This is where my panic really set in- look at the sides of the inner square- yikes, I was thinking I had measured wrong. Good news was I actually did not cut until I figured out the next step and discovered the awesomeness of this. 

Cut in to 4 pieces cutting in a diagonal. See how the space I thought was a mistake works out great
 to cut to 4 triangular pieces! 
Pin 2 of the triangular sections to each side of the 7 5/8 (red) square. 
Press open, use starch. Look at how awesome the point is!
Pin and sew the other 2 opposing triangular sections to the 7 5/8" block
Press Open and use some more of that starch stuff!


Friday, November 12, 2010

Fabric Fumes

Lauren~
Ann traveled up to North Carolina from South Carolina today. We are sewing together tomorrow.We spent a few hours today immersed in our favorite activity, shopping for fabric. We drove in the direction of what feels like North (even though the highway signs all say South) to Mary Jo's in Gastonia, NC. Mary Jo's is one of our all time favorite places to breath in the cotton fumes, and the sound of the ripping fabric, is music to our ears. Mary Jo's is old school, tearing the fabric on the grain. With time to spare before my  job interview at 4:00 we traveled about 2 miles away to a store we had been dying to get inside. Sew Much Fun also in Gastonia, we were not disappointed. As Ann entered declaring "Moda Heaven", she then disappeared for 20 minutes before I saw her again.

Ann~
One of my favorite sounds in Mary Jo's is Lauren calling my name across the huge warehouse space full of fabric. Today I heard that sound repeatedly; "Ahnnnnnnn, where are you?"  Big decisions had to be made. We both went to Mary Jo's under the ruse of only buying what we needed. That plan was shot to hell the minute we walked in the front door. A seam ripper, thread and batting was all I needed. I did manage to get the seam ripper, along with 17 yards of Fall colors for a new quilt of which I am now searching for the perfect pattern. Can't wait to see what tomorrow brings...